
Transforming a plain skateboard deck into a vibrant piece of art is a rewarding project for any skater. Airbrushing offers a professional, smooth finish that’s difficult to achieve with traditional methods like spray cans or brushes. This technique allows for intricate designs, smooth gradients, and a durable, custom look that truly makes your board stand out.
Whether you’re a seasoned artist or a beginner looking to personalize your ride, understanding the process is key to achieving stunning results.
This guide will walk you through everything you need to know to airbrush a skateboard, from selecting the right equipment and preparing your deck to applying the paint and sealing your masterpiece. We’ll cover essential safety precautions, detailed steps for each stage, and tips for troubleshooting common issues.
Get ready to unleash your creativity and give your skateboard a unique identity on the streets or at the skatepark.
Key Takeaways
- Preparation is Paramount: Proper cleaning, sanding, and priming are crucial for paint adhesion and a professional finish.
- Airbrush Equipment Essentials: You’ll need an airbrush, compressor, hoses, and appropriate paints (acrylic or urethane-based are common).
- Design and Stencils: Plan your design carefully. Stencils can help create clean lines and complex patterns.
- Layering and Fading: Airbrushing excels at smooth transitions. Build colors gradually for depth and visual appeal.
- Protective Clear Coat: A durable clear coat is essential to protect your artwork from wear and tear.
- Ventilation and Safety: Always work in a well-ventilated area and wear protective gear.
Understanding The Airbrushing Process For Skateboards
Airbrushing is a painting technique that uses an airbrush gun to spray a fine mist of paint. This atomization process allows for precise control over paint application, creating smooth gradients, sharp details, and a seamless finish. Unlike traditional painting methods, airbrushing minimizes brush strokes and overspray, leading to a cleaner, more professional aesthetic.
For skateboards, this means intricate graphics, custom color fades, and a durable surface that can withstand the rigors of skating. The key lies in understanding how air pressure, paint viscosity, and distance from the surface interact to create different effects.
The Benefits Of Airbrushing Your Skateboard
Choosing to airbrush your skateboard offers several distinct advantages over other customization methods. The most apparent is the superior finish. Airbrushing produces a smooth, almost seamless layer of paint that can achieve gradients and blends impossible with brushes or even most spray cans. This results in a professional, high-quality look that significantly enhances the board’s visual appeal.
Beyond aesthetics, airbrushing allows for unparalleled detail and complexity. Whether you envision photorealistic graphics, intricate tribal patterns, or custom lettering, an airbrush can render them with precision. This level of detail elevates a skateboard from a mere mode of transport or sport equipment to a genuine piece of personalized art.
Furthermore, when combined with the right preparatory steps and a quality clear coat, airbrushed designs are remarkably durable. The fine mist of paint can create a tightly bonded layer that resists chipping and fading better than some other methods, especially when protected. This longevity ensures your custom design remains vibrant and intact through regular use, whether you’re cruising the streets or hitting the skatepark.
What You’ll Need: Essential Airbrushing Gear
Embarking on an airbrush project requires specific tools and materials. Having the right equipment ensures a smoother workflow and better results.
- Airbrush Gun: These come in various types, but a dual-action airbrush is highly recommended for skateboard customization. This type allows you to control both airflow and paint flow independently, offering greater versatility for detailed work and broad coverage. Brands like Iwata, Badger, and Paasche offer reliable options for different budgets.
- Air Compressor: This is the power source for your airbrush. Look for a compressor with a regulator and a moisture trap. The regulator allows you to control air pressure (measured in PSI), which is critical for different paint consistencies and techniques. The moisture trap prevents water condensation from being sprayed onto your artwork, which can ruin the finish. A piston compressor is generally preferred for its consistent air supply.
- Hoses and Fittings: You’ll need an air hose to connect the compressor to the airbrush. Ensure the fittings are compatible with both your compressor and airbrush.
- Paints: Acrylic airbrush paints are a popular choice for skateboards due to their water-based nature, easy cleanup, and vibrant colors. Urethane-based paints offer superior durability but require more specialized solvents and safety precautions. Always choose paints specifically designed for airbrushing, as they are formulated with a finer pigment and reduced viscosity.
- Primer: A good primer is essential for ensuring paint adheres properly to the skateboard deck, especially if it’s a new, unpainted deck or has a glossy finish.
- Clear Coat/Sealer: A durable clear coat (like a 2K urethane clear) is vital for protecting your artwork from scratches, UV damage, and the elements.
- Masking Tape and Stencils: High-quality masking tape (like automotive masking tape) is crucial for creating clean lines and protecting areas you don’t want painted. Pre-made or custom-cut stencils can simplify the creation of complex designs.
- Safety Gear: This is non-negotiable. You’ll need a respirator mask rated for paint fumes, safety glasses, and gloves.
- Cleaning Supplies: Airbrush cleaner (or appropriate solvent for your paint type), cleaning brushes, and lint-free cloths are necessary for maintaining your equipment and cleaning up.
Preparing Your Skateboard Deck For Airbrushing
The foundation of any successful airbrush project is proper preparation. A clean, smooth, and properly primed surface ensures the paint adheres correctly and the final artwork looks its best. Skipping these steps can lead to adhesion issues, uneven coverage, and a finish that quickly deteriorates.
Cleaning And Degreasing The Deck
Before any sanding or priming, the deck must be thoroughly cleaned. Skateboards accumulate dirt, grime, wax, and oils from hands and the environment. Any residue will prevent primer and paint from adhering properly.
- Initial Wipe Down: Use a clean cloth dampened with mild soap and water to wipe down the entire surface of the deck.
- Degreasing: For stubborn grease or wax, use a degreaser specifically designed for automotive or art applications. Isopropyl alcohol (rubbing alcohol) can also be effective for lighter residues.
- Rinsing and Drying: Rinse the deck thoroughly with clean water to remove any soap or degreaser residue. Allow the deck to air dry completely. Avoid using heat guns or hairdryers, as this can warp the wood. Ensure all moisture is gone from the wood grain.
Sanding For Optimal Adhesion
Sanding creates a “tooth” on the surface, giving the primer and paint something to grip onto. This is crucial for long-term durability.
- New Decks: If you have a new, unsealed deck, a light sanding with 120-180 grit sandpaper is usually sufficient to scuff the surface.
- Used Decks: For decks that have been previously painted or sealed, you may need to start with a coarser grit like 80-100 grit to remove the old finish, then move to a 180-220 grit sandpaper to smooth it out.
- Sanding Technique: Sand in consistent, even strokes, following the grain of the wood where possible. For concave decks, use a sanding block or flexible sandpaper to ensure even pressure.
- Dust Removal: After sanding, thoroughly wipe down the deck with a tack cloth or a microfiber cloth dampened with denatured alcohol to remove all sanding dust. This step is critical; any remaining dust will be trapped under the paint.
Applying Primer
Primer acts as a bonding agent between the raw wood (or old finish) and your new paint. It also provides a uniform base color, ensuring your custom graphics appear true to their intended shades.
- Choosing a Primer: Select a primer compatible with your chosen paint type. For acrylic airbrush paints, a water-based acrylic primer is ideal. For urethane paints, you’ll need a compatible urethane primer. A universal sandable primer can also work well.
- Application: Apply the primer in thin, even coats using your airbrush. Aim for light coverage rather than trying to achieve full opacity in one pass. Allow each coat to flash off (partially dry) before applying the next. Typically, 2-3 thin coats are sufficient.
- Sanding the Primer: Once the primer is completely dry (check the manufacturer’s instructions, this can take several hours), lightly sand it with 320-400 grit sandpaper. This step smooths out any imperfections and creates an ultra-fine surface for your artwork. Again, use a tack cloth to remove all dust.
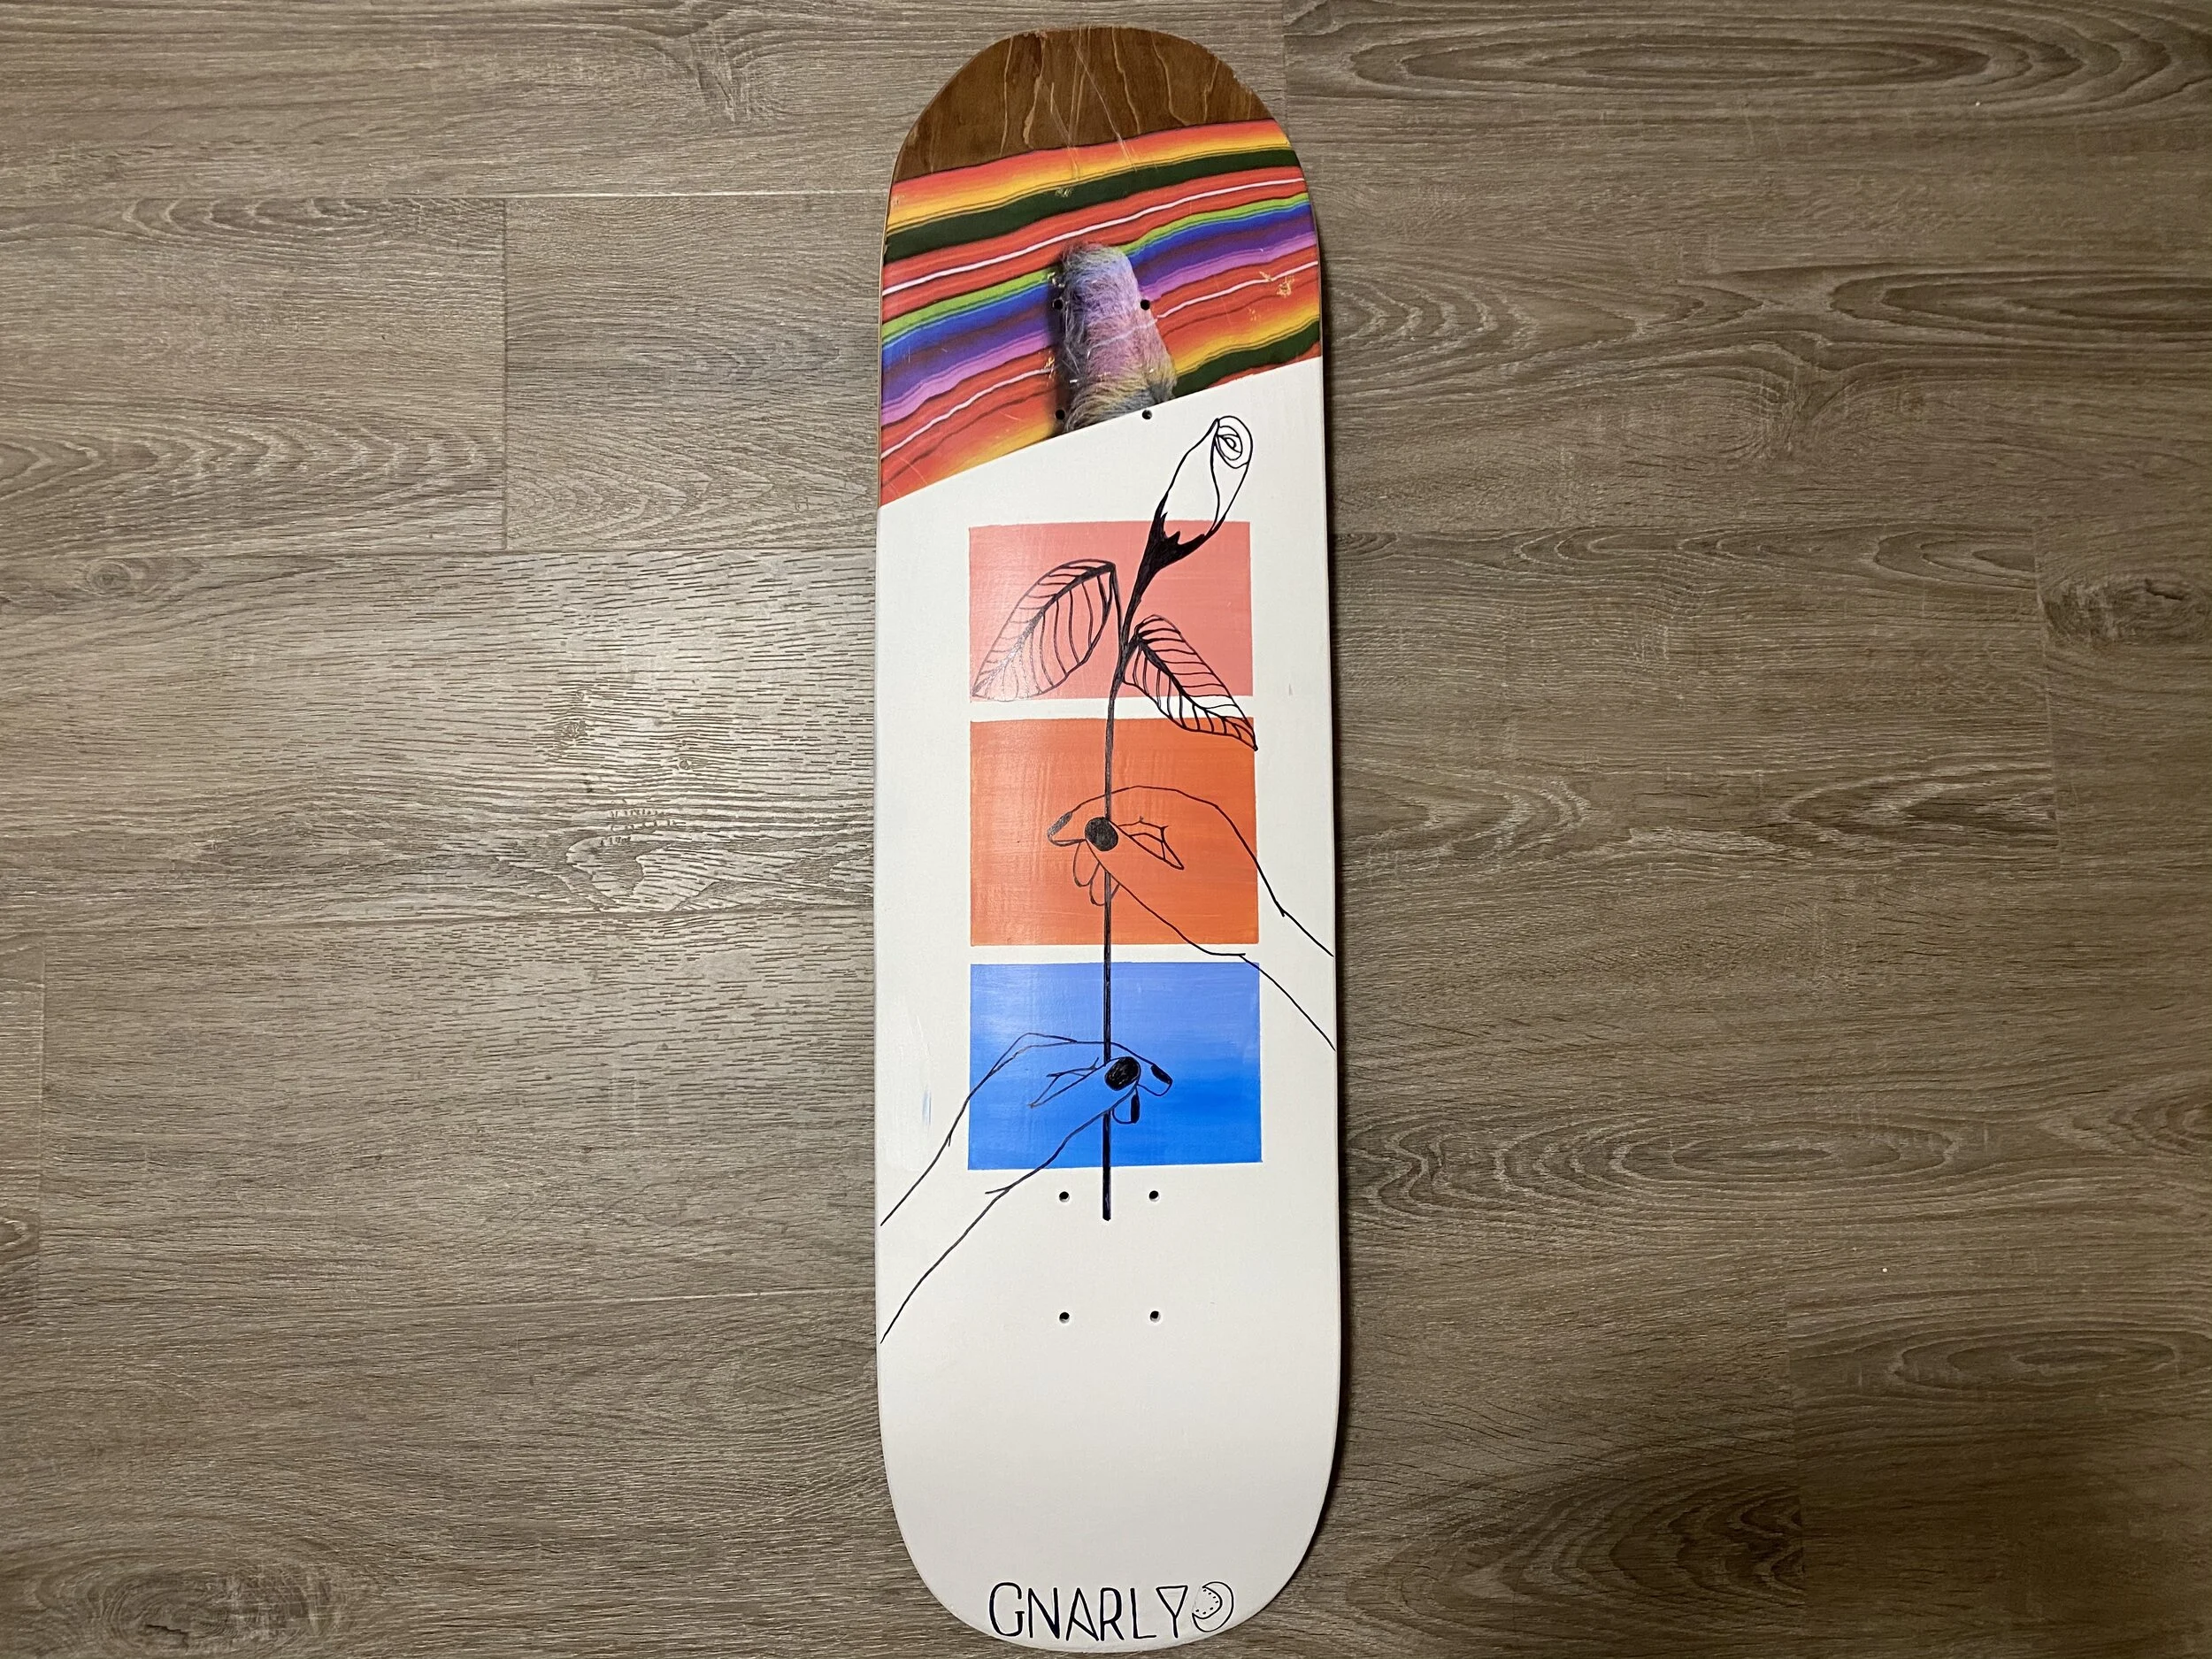
Designing Your Skateboard Masterpiece
Before you even pick up the airbrush, thoughtful design is paramount. This stage involves conceptualizing your artwork, choosing your color palette, and deciding how to translate your vision onto the curved surface of a skateboard deck.
Conceptualizing Your Design
This is where your creativity takes flight. Consider the shape and intended use of your skateboard. Are you aiming for a graphic that complements street skating, a flowing design for cruising, or something abstract and bold for a display piece?
- Inspiration: Look for inspiration in art, nature, pop culture, or even other skateboards. Browse online galleries, art books, or social media platforms dedicated to custom art.
- Skateboard Shape: Remember that a skateboard deck is not a flat canvas. It has curves, concaves, and edges. Your design should work with these contours, not against them. Designs that wrap around the edges or utilize the concave can create a dynamic effect.
- Theme and Style: Decide on a cohesive theme or style. This could be anything from retro graphics and cyberpunk aesthetics to minimalist patterns or intricate illustrations. A consistent style makes the artwork more impactful.
- Color Palette: Select a color palette that is visually appealing and complements the board’s components (trucks, wheels). Consider the psychology of color and how different hues evoke certain moods or feelings.
Sketching And Planning
Once you have a general idea, it’s time to sketch it out.
- Rough Drafts: Create several rough sketches on paper. Don’t worry about perfection at this stage; focus on composition and placement.
- Scale and Proportion: Consider the actual size of the deck. A design that looks great small on paper might be overwhelming or too sparse on a full-sized deck. Measure your deck and draw to scale, or create a template.
- Detail Level: Assess the level of detail your airbrush skills can handle. Intricate designs require more time, practice, and potentially finer-tipped airbrushes.
- Consider Components: Think about how the trucks and wheels will interact with your design. Some artists leave space around the truck mounting holes, while others incorporate them into the artwork.
Using Stencils And Masks
Stencils and masking are invaluable tools for achieving clean lines, sharp edges, and repeatable patterns, especially for those new to airbrushing or tackling complex graphics.
- Types of Stencils:
- Pre-made Stencils: Available online or at art supply stores, these offer a variety of designs.
- Custom Stencils: You can cut your own stencils from stencil material (like Mylar or acetate sheets) using a craft knife or a vinyl cutter. This allows for completely unique designs.
- Masking Tape: For straight lines or geometric shapes, high-quality masking tape (automotive tape is excellent for its sharp lines and flexibility) is your best friend.
- Application Technique:
- Placement: Carefully position the stencil or tape on the primed deck. Use spray adhesive (lightly) on the back of stencils to prevent paint from seeping underneath.
- Masking Edges: Ensure all edges of the tape are firmly pressed down to prevent paint bleed. Burnishing the edges with a smooth tool (like a credit card edge) can help create a razor-sharp line.
- Layering: You can layer stencils or tape to create complex multi-color designs. Always allow previous layers of paint to dry completely before applying new masks.

Credit: www.youtube.com
Mastering Airbrush Techniques For Skateboards
With your deck prepped and your design planned, it’s time to dive into the actual airbrushing. This section covers fundamental techniques that will help you achieve professional-looking results.
Understanding Air Pressure And Paint Flow
The interplay between air pressure and paint flow is fundamental to airbrushing.
- Air Pressure (PSI): This controls how finely the paint is atomized and how far it can travel.
- Lower PSI (15-25 PSI): Good for fine detail, soft fades, and applying thin coats. Requires paint to be thinned more.
- Higher PSI (25-40 PSI): Better for broader coverage, thicker paints, and achieving more opaque layers quickly. Can lead to more overspray if not controlled.
- Always start with lower pressure and gradually increase as needed. Refer to your paint and airbrush manufacturer’s recommendations.
- Paint Flow: Controlled by the trigger on your airbrush.
- Pulling the trigger halfway: Releases air only (for drying between passes).
- Pulling the trigger further back: Releases air and paint simultaneously.
- Practice: The key is practice. Learn to control the trigger smoothly for consistent paint application.
Basic Airbrush Strokes And Fades
Developing a steady hand and understanding how to move the airbrush are crucial.
- Distance: The distance between the airbrush nozzle and the surface affects the paint application.
- Close Distance: For fine lines and sharp details.
- Farther Distance: For soft fades, broader coverage, and creating atmospheric effects.
- Movement: Always move the airbrush before you pull the trigger and continue moving after you release it. Starting and stopping the paint spray while the airbrush is stationary will create dots or heavy spots.
- Fan Pattern: Most airbrushes produce a fan-shaped spray pattern. Overlapping your strokes slightly creates an even, consistent coat.
- Creating Fades (Gradients):
- Start with the airbrush further away from the surface.
- Begin spraying as you move towards the area you want to paint.
- Gradually bring the airbrush closer while maintaining movement.
- As you move away, gradually increase the distance again.
- Practice this motion to achieve smooth transitions between colors or light and dark tones.
Layering Colors And Building Depth
Airbrushing is best done in thin, multiple layers rather than one thick coat. This allows for subtle color blending and building up opacity gradually.
- Thin Coats: Apply paint in light, even coats. This prevents runs and drips and allows colors to interact optically.
- Color Blending: You can blend colors directly on the surface by overlapping their spray patterns while the paint is still wet. Alternatively, you can pre-mix colors or use transparent paints to create mid-tones.
- Building Opacity: If you need a solid color, apply multiple thin coats until the desired opacity is reached. This prevents the paint from becoming too thick and losing detail.
- Highlighting and Shading: Use darker colors sprayed from a slightly higher angle to create shadows, and lighter colors sprayed from a lower angle to create highlights. This technique adds dimension and makes the artwork pop.
Example: Creating A Sunset Fade
Let’s illustrate layering with a common design: a sunset fade.
- Base Colors: Start by airbrushing the lightest colors (yellows, oranges) at the top of the deck, fading them downwards. Use a wider spray pattern and moderate distance.
- Mid-Tones: Introduce reds and pinks, overlapping them with the oranges. Adjust your air pressure and distance for softer transitions. You might bring the airbrush slightly closer for more intense color.
- Dark Tones: Apply deep purples or even blues near the bottom edge, fading them into the reds. Ensure your airbrush is clean before switching to very dark colors to avoid contamination.
- Refinement: Use a smaller spray pattern or a closer distance to refine the blend lines between colors, ensuring a smooth, seamless gradient.
Protecting Your Airbrushed Skateboard
Applying your artwork is only half the battle. A crucial step often overlooked is protecting the painted surface. Skateboards are subjected to significant abuse, impacts, scratches, dirt, and UV exposure. A high-quality clear coat is essential to preserve your hard work.
Choosing The Right Clear Coat
The type of clear coat you choose depends on the paints you used and the level of durability you require.
- Acrylic Clear Coats: These are water-based and easy to clean up. They offer decent protection but are generally less durable than urethane-based options. They are a good choice if you used acrylic paints and want a simpler process. Look for airbrush-specific acrylic clears for best results.
- Urethane Clear Coats (2K): These are typically two-part systems (clear and hardener) that create an extremely durable, chemical-resistant, and scratch-resistant finish. They offer the best protection for a skateboard but require more safety precautions (due to isocyanates) and specialized application knowledge. Automotive-grade 2K urethane clears are ideal for maximum durability.
- Compatibility: Always ensure your clear coat is compatible with your underlying paint. Test on a scrap piece first if unsure.
Application Process For Clear Coating
Applying clear coat requires a clean environment and careful technique, similar to applying primer and paint.
- Environment: Work in a dust-free, well-ventilated area. Temperature and humidity can affect drying times and finish quality. Check the clear coat manufacturer’s recommendations.
- Preparation: Ensure the airbrushed artwork is completely dry and free of dust. Lightly wipe with a tack cloth if necessary.
- Mixing (for 2K): If using a two-part urethane clear, mix the components precisely according to the manufacturer’s ratio. Improper mixing will result in a failed cure.
- Thinning: Your clear coat may need to be thinned for airbrush application. Use the recommended reducer for your specific clear coat.
- Application: Apply the clear coat in multiple thin, even coats.
- Maintain a consistent distance and speed.
- Overlap each pass slightly.
- Allow adequate flash-off time between coats (refer to manufacturer’s instructions). This is crucial for solvent-based clears to allow solvents to escape, preventing bubbling or clouding.
- For 2K urethanes, usually 2-3 medium coats are sufficient for excellent protection.
- Curing: Allow the clear coat to cure fully. This can take anywhere from 24 hours to several days, depending on the product and environmental conditions. Avoid using the board until it’s fully cured to prevent damage.
- Optional Wet Sanding and Polishing: For a show-quality, glass-like finish, you can carefully wet sand the cured clear coat with very fine grit sandpaper (e.g., 1500-3000 grit) and then polish it with automotive-grade polishing compounds. This is an advanced step but yields incredible results.
Maintaining Your Airbrushed Skateboard
Even with a protective clear coat, proper care will extend the life and beauty of your airbrushed design.
- Regular Cleaning: Wipe down your board regularly with a damp cloth to remove dirt and grime. Avoid harsh chemicals or abrasive cleaners that could damage the clear coat.
- Avoid Harsh Conditions: Try to keep your board out of prolonged direct sunlight (UV rays can fade paint over time) and extreme temperatures.
- Storage: Store your skateboard in a cool, dry place when not in use. A board bag can offer additional protection.
- Minor Touch-ups: For very minor scratches that haven’t penetrated the clear coat, a light polishing compound might help minimize their appearance. If the artwork is significantly damaged, a professional repair or a partial re-airbrushing might be necessary.
Frequently Asked Questions
What Kind Of Airbrush Is Best For Beginners?
For beginners wanting to airbrush a skateboard, a dual-action, gravity-feed airbrush is generally recommended. Gravity-feed models use a cup on top, which allows paint to flow down into the airbrush, requiring less air pressure and making them more efficient with paint. Dual-action means you control both air and paint with the trigger, offering more control than single-action models once you get the hang of it. Brands like Badger (e.g., Patriot 105) or Iwata (e.g., Eclipse CS) offer good entry-level to mid-range options.
Can I Airbrush On Grip Tape?
No, airbrushing directly onto grip tape is not feasible or recommended. Grip tape’s abrasive texture is designed for traction, not for holding paint smoothly. Any paint applied would likely be obscured by the grit, wear off very quickly, and ruin the grip. If you want a design on the top of your board, you would need to apply it to the underside, or completely remove the grip tape, paint the deck, and then apply new grip tape.
How Long Does Airbrush Paint Take To Dry?
Airbrush paint can take anywhere from a few minutes to several hours to become touch-dry, depending on the type of paint, the thickness of the coat, temperature, humidity, and ventilation. Thin acrylic airbrush layers may become touch-dry relatively quickly, but they should be allowed to cure longer before masking over them or applying clear coat. Always follow the paint manufacturer’s recommended drying and curing times rather than relying only on how the surface feels.
What PSI Should I Use To Airbrush A Skateboard?
For most skateboard airbrushing, a starting range of about 15-25 PSI works well for fine details, fades, and thin layers. Higher pressures around 25-40 PSI can be useful for broader coverage or thicker paint, but they may create more overspray. The ideal pressure depends on the airbrush, nozzle size, paint viscosity, and manufacturer’s recommendations. Adjust gradually while practicing on a scrap surface.
What Type Of Paint Should I Use On A Skateboard?
Acrylic airbrush paint is a practical choice for many skateboard projects because it is widely available, easy to clean up, and comes in many colors. Urethane-based systems can provide greater durability but require more careful handling, compatible products, and stronger safety precautions. Whatever paint you choose, make sure it is suitable for airbrushing and compatible with the primer and clear coat you plan to use.
Do I Need To Clear Coat An Airbrushed Skateboard?
A clear coat is strongly recommended if you want to protect the artwork from scratches, dirt, moisture, and UV exposure. The clear coat also gives the finished deck a more uniform appearance. Choose a clear that is compatible with the paint underneath and follow the manufacturer’s instructions for application, ventilation, flash time, and curing.
Why Is My Airbrush Paint Spitting Or Splattering?
Spitting can be caused by several issues, including paint that is too thick, an obstructed nozzle, insufficient air pressure, moisture in the air line, or inconsistent trigger control. Start by checking and cleaning the airbrush, then verify the paint consistency and air pressure. Empty and clean the moisture trap if necessary. Testing the setup on scrap cardboard or paper before returning to the skateboard can help identify the problem without damaging the artwork.
Conclusion
Learning how to airbrush a skateboard gives you a flexible way to combine skating and custom artwork. The process begins with surface preparation, continues through careful design and controlled paint application, and ends with a protective clear coat that helps preserve the finished design.
Beginners do not need to create an extremely complicated graphic on their first attempt. Start with simple fades, shapes, lettering, or stencil patterns and practice controlling air pressure, paint flow, distance, and movement. As your control improves, you can gradually introduce more detailed illustrations, shading, and multi-layered effects.
The most important steps are consistent: prepare the deck properly, use compatible materials, apply thin layers, keep the airbrush clean, follow safe working practices, and allow the finish to dry and cure completely. With practice, these fundamentals can help you create a skateboard that is not only functional but also a unique expression of your own style.