How to Stop on a Longboard: Essential Techniques for Safety
Longboarding is more than just rolling down a hill or cruising along a sidewalk. One of the most important skills every rider must learn is how to stop on a longboard. Stopping safely helps you avoid accidents, control your speed, and enjoy your ride with confidence. Whether you are a beginner or you’ve been riding for a while, mastering stopping techniques can make a big difference. Many new riders focus on speed and tricks, but stopping is a skill that truly separates the confident from the cautious.
Learning to stop on a longboard is not just about knowing one trick. The right stopping method depends on your speed, the terrain, and your comfort level. Some methods work better at slow speeds, while others are designed for fast downhill rides.
In this guide, you’ll discover the most popular and effective ways to stop, when to use each one, and how to practice safely. If you want to improve your riding and protect yourself, this is the place to start.
Why Stopping Skills Matter
Many beginners think stopping is as simple as jumping off or dragging a foot. While these can work at slow speeds, they become dangerous as you go faster. Good stopping skills help you:
- Prevent injuries by avoiding sudden falls or crashes.
- Control speed when going downhill or in crowded areas.
- Build confidence as you ride in new places.
- Protect your gear from unnecessary damage.
In fact, in a 2019 rider survey, over 60% of longboarding injuries happened during failed stops or speed control issues. Knowing how to stop is often more important than learning tricks or fast riding.
Types Of Stopping Techniques
There are several ways to stop a longboard. Each method has its own best use, learning curve, and safety level. Let’s break down the most common options.
1. Foot Braking
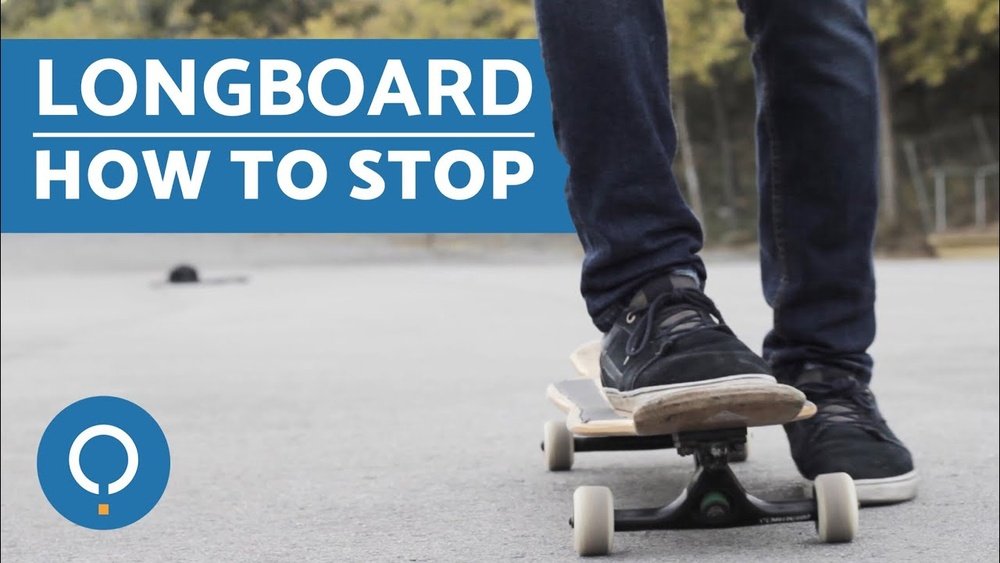
Foot braking is the most basic and essential stopping method. It works best at slow to moderate speeds.
- Take your back foot off the board and gently drag it on the ground.
- Keep your weight centered over the front foot.
- Apply gentle, steady pressure to slow down.
This method is simple but very effective for beginners. It does wear out your shoe, so consider using an old pair or special brake soles.
When to use: Flat surfaces, slow speeds, crowded sidewalks.
Common mistake: Dragging the foot too hard, which can cause you to lose balance or trip.
2. Carving To Slow Down
Carving is not a full stop, but it’s a way to reduce speed quickly and safely.
- Make wide, S-shaped turns across your path.
- Lean into each turn, using your body to create resistance.
- The tighter the turn, the more you slow down.
Carving is especially useful on gentle hills or when you want to keep rolling slowly rather than stop fully.
When to use: Downhill, mild slopes, before using another stopping method.
Common mistake: Not leaning enough, causing the board to go straight and pick up speed.
3. Jumping Off (run-out)
Also known as the “run-out,” this is when you step or jump off your board and run to a stop.
- Only attempt at low speeds (under 7 mph).
- Land on your feet and keep running to avoid falling.
This method is risky at higher speeds and should be a last resort.
When to use: Emergency situations, very slow speeds.
Common mistake: Trying to run out at high speeds, leading to falls and injuries.
4. Heel Drag
Heel drag is similar to foot braking, but you use the heel of your back foot.
- Place your back foot’s heel gently on the ground.
- Let your toes stay on the board for stability.
This method works well for small boards and at low speeds.
When to use: Flat ground, casual riding, when you want more control than foot braking.
Common mistake: Applying too much heel pressure, which can jolt the board.
5. Coleman Slide
The Coleman slide is the most advanced and effective way to stop at high speeds. It’s a type of “slide stop” that uses the wheels and your body to bring the board to a halt.
- Crouch low and place your leading hand on the ground (using a glove).
- Push your hips out and force the board to slide sideways.
- Your wheels lose traction, causing the board to skid and slow down.
This technique takes time and practice but is necessary for downhill riders.
When to use: High speeds, downhill, when fast stopping is needed.
Common mistake: Not wearing gloves or pads, leading to hand or arm injuries.
Comparing Stopping Techniques
To help you see the differences between the main stopping methods, here’s a comparison of key factors:
| Method | Difficulty | Best for Speed | Shoe Wear | Safety Level |
|---|---|---|---|---|
| Foot Brake | Easy | Low/Medium | High | High |
| Carving | Easy | Medium | None | High |
| Run-Out | Easy | Low | None | Low |
| Heel Drag | Easy | Low | Medium | Medium |
| Coleman Slide | Hard | High | None | Medium/High |
How To Learn Each Technique Safely
Practicing stopping methods is important, but safety comes first. Here are some tips for learning each method with confidence:
Foot Braking Practice Tips
- Start on flat ground with no traffic.
- Wear shoes with thick soles.
- Focus on balance—keep most weight on the front foot.
- Practice at walking speed before trying faster rolls.
Carving Practice Tips
- Use a wide, open path.
- Practice making bigger turns first, then tighter ones.
- Look ahead, not down at your feet.
- Try carving at different speeds to feel the effect on slowing down.
Run-out Practice Tips
- Only use on soft surfaces like grass or smooth pavement.
- Start from a standstill, then roll slowly and step off.
- Bend your knees when stepping off to absorb impact.
Heel Drag Practice Tips
- Practice at very low speed.
- Keep your toes firmly on the board for control.
- Try different heel pressures to see what slows you best.
Coleman Slide Practice Tips
- Always wear gloves and knee pads.
- Practice sliding on gentle slopes with plenty of space.
- Learn to crouch and stay low for better balance.
- Watch video demonstrations from experienced riders.

Credit: www.wikihow.com
Common Mistakes And How To Avoid Them
Even experienced riders make mistakes when stopping. Here are some pitfalls to watch for:
- Trying to stop too late. Give yourself enough space to slow down.
- Leaning back too far when braking, which can cause falls.
- Not using protective gear for slides or high-speed stops.
- Choosing the wrong method for the terrain or speed.
- Ignoring shoe wear, which can lead to painful burns or ruined shoes.
A smart rider always prepares for stopping before picking up speed.
Essential Protective Gear For Safe Stopping
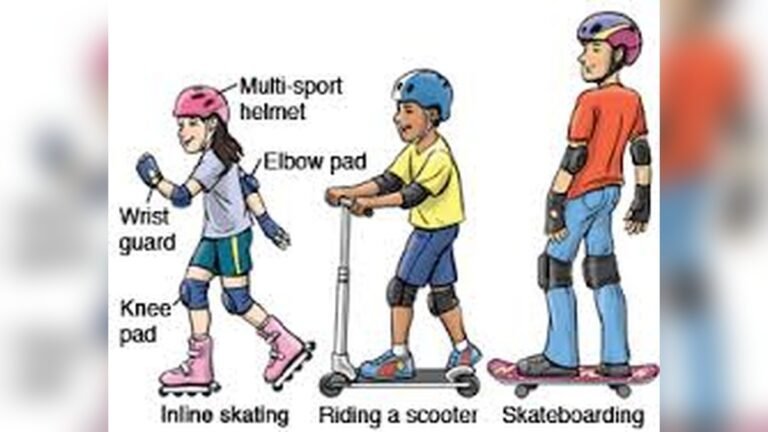
Wearing protective gear is not just for beginners. Even advanced riders use it, especially when practicing new techniques. The main gear includes:
- Helmet: Protects your head from serious injuries.
- Slide gloves: Needed for any slide stops.
- Knee and elbow pads: Prevent scrapes and bruises.
- High-top shoes: Offer ankle support and last longer during foot brakes.
According to the National Safety Council, helmets reduce the risk of head injury by up to 85% in skateboarding accidents. Gloves are essential for sliding and will save your hands from cuts and scrapes.
How Speed, Terrain, And Board Type Affect Stopping
Many new riders don’t realize how much their environment and gear change how they should stop. Here’s a look at key factors.
Speed
- At slow speeds, almost any method works.
- At medium speeds, carving and foot braking are safest.
- At high speeds (over 15 mph), only slide stops (like Coleman) are effective.
Terrain
- Smooth pavement is good for all methods.
- Rough surfaces make foot braking harder and sliding more dangerous.
- Hills require stronger techniques, such as carving or sliding.
Board Type
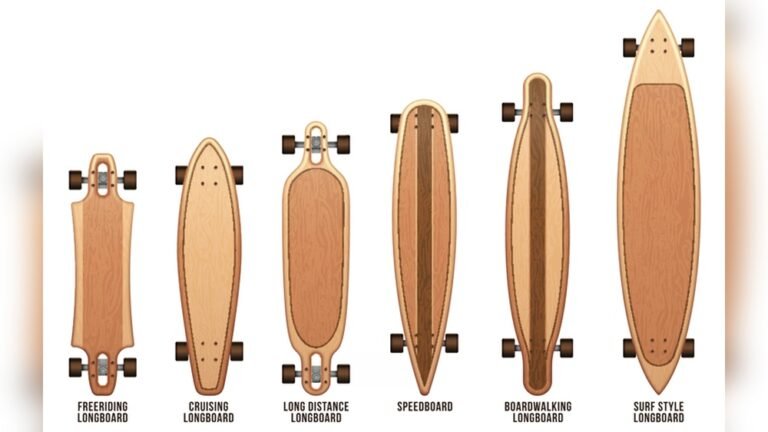
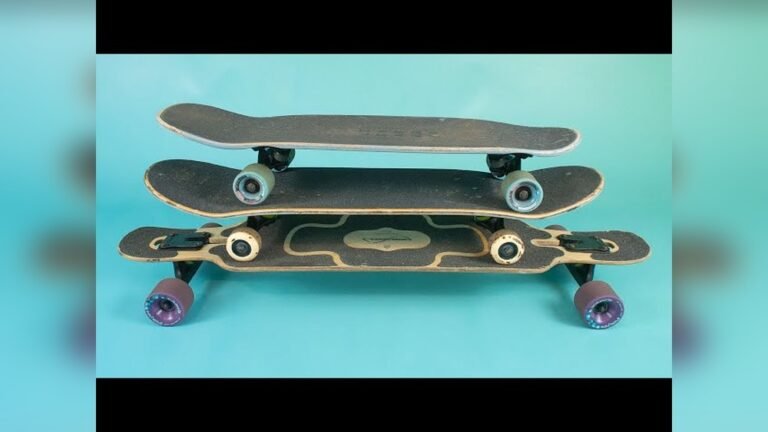
- Drop-through boards are lower to the ground and easier for foot braking.
- Top-mount boards give better control for slides.
- Short boards are harder to stop at speed due to less stability.
This table summarizes how board type affects stopping:
| Board Type | Best Stopping Methods | Notes |
|---|---|---|
| Drop-Through | Foot Brake, Carving | Lower, easier to step off |
| Top-Mount | Slides, Carving | More leverage for sliding |
| Pintail | Carving, Foot Brake | Stable, but harder for slides |
Progression: How To Get Better At Stopping
Building stopping skills takes practice. Here’s a simple progression to follow:
- Master foot braking at all speeds on flat ground.
- Practice carving to slow down and control speed.
- Combine carving with foot braking on gentle hills.
- Learn emergency run-outs at very low speeds.
- Start learning slide stops (like Coleman) on gentle slopes.
- Increase speed gradually as your control improves.
Filming yourself or riding with a friend can help spot mistakes. Take your time; most riders need weeks or months to feel fully confident.
When To Use Each Stopping Technique
Choosing the right method is about matching your speed, the road, and your skill level. Here are some common scenarios:
- City cruising: Foot brake or carving for slow, controlled stops.
- Downhill riding: Carving to slow down, then slide stops to halt.
- Emergency stop: Run-out at very low speeds, slide at high speeds.
- Crowded paths: Carving to reduce speed, foot brake to stop quickly.
A mistake beginners often make is using only one method everywhere. Mixing techniques as needed is the mark of an experienced longboarder.
Two Insights Most Beginners Miss
- Stopping is more important than turning or pushing. Many riders skip practice on stopping methods, but this is the skill that keeps you safe in all situations.
- Worn-out shoes can increase your stopping distance. When the sole is thin, your foot can slip or even burn. Always check your shoes before a ride, and replace them as needed.

Credit: www.youtube.com
Frequently Asked Questions
What Is The Safest Way To Stop On A Longboard For Beginners?
The foot brake is the safest and easiest method for most beginners. It lets you slow down gently at low or medium speeds. Just remember to keep your weight over the front foot, drag your back foot lightly, and wear good shoes to protect your sole.

Credit: www.wikihow.com
Can You Stop A Longboard By Jumping Off?
Yes, you can, but only at very low speeds. This is called a run-out. If you try it at high speeds, you risk falling and getting injured. It should only be used in emergencies or when rolling very slowly.
Do I Need Special Shoes For Foot Braking?
You don’t need special shoes, but thick-soled sneakers work best. Foot braking can wear out the sole quickly, so avoid using your favorite shoes. Some riders buy old pairs or use skate-specific shoes with reinforced soles.
How Do I Learn The Coleman Slide?
Start by practicing on a gentle hill with smooth pavement. Wear slide gloves and knee pads. Crouch low, place your front hand on the ground, and push your hips out to force the board sideways. It’s best to learn from videos or a skilled friend. For more details and demonstrations, see the Wikipedia Longboarding page.
Is Sliding Necessary For All Longboarders?
No, but it is important if you want to ride at higher speeds or do downhill longboarding. For city cruising and flat areas, foot braking and carving are usually enough. However, knowing how to slide gives you more control and safety options.
Stopping on a longboard is a skill that every rider should master. With the right techniques, practice, and protective gear, you can enjoy longboarding with greater control and confidence. Remember, stopping safely is what keeps your ride fun, not just fast.